![Import Bank Statement into Xero: PDF to Xero [2026]](/_next/image?url=https%3A%2F%2Fconvertbanktoexcel.com%2Fapi%2Fuploads%2Fimages%2Fxero-accounting-software-interface-showing-bank-statement-import-screen-with-transaction-list-1771446905067.jpg&w=1920&q=75)
How to Import a Bank Statement into Xero (PDF to Xero in 3 Steps)
If you've ever tried to get a PDF bank statement into Xero, you already know the frustration. Xero doesn't accept PDFs directly. Your bank doesn't export OFX by default. And manually re-entering 3 months of transactions takes somewhere around 45 minutes — minimum. I've seen accountants burn entire afternoons on this.
The good news: there's a clean, three-step process that handles any bank, any PDF format, and gets the data into Xero in under five minutes. This guide walks through both methods (OFX and CSV), when to use each, and how to avoid the common import errors that cause headaches.
What Format Does Xero Accept for Bank Imports?
Xero supports three file formats for manual bank statement imports:
- OFX (Open Financial Exchange) — the recommended format. Structured, machine-readable, minimal errors.
- QIF (Quicken Interchange Format) — older format, still supported but has date parsing quirks.
- CSV — flexible and widely compatible, but requires column mapping and is more prone to formatting issues.
OFX is the clear winner for accuracy. It carries structured transaction data with standardized date formats, transaction IDs, and amount signs (debits vs credits). When you import OFX into Xero, the system maps everything automatically with very little cleanup needed.
CSV works well too, but Xero's CSV import requires your file to match a specific column order: Date, Amount, Payee, Description, Reference, Check Number, Analysis Code. One misaligned column and the import fails — or worse, succeeds with wrong data.
The Problem with PDF Bank Statements and Xero
PDFs are designed for reading, not data extraction. When your bank exports a statement as PDF, the transaction data is embedded as rendered text — not a structured table that software can easily parse.
Xero's import tool has no native PDF parser. It can't read your Chase, Wells Fargo, HSBC, or any other bank's PDF and extract the transactions automatically.
So you're left with two options:
- Manual entry — copy each transaction by hand. For a busy month, that's 80–200 rows, each requiring date, description, and amount. Error-prone and soul-crushing.
- Convert the PDF first — use a converter that reads the PDF and outputs a Xero-compatible file (OFX or CSV). Fast, accurate, done.
Option two is obviously better. The question is which converter to use and how to run it properly.

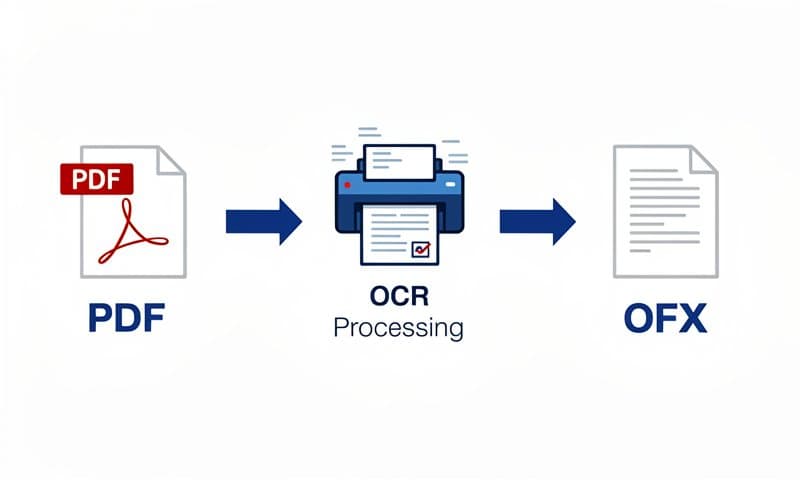
Method 1: Convert PDF to OFX and Import into Xero (Recommended)
This is the method our users rely on most. OFX files import into Xero with the highest accuracy and require the least post-import cleanup.
Why OFX Over CSV?
OFX files are self-describing. Each transaction block contains a transaction ID, posting date, amount, and description in a structured format. Xero reads this natively and maps it without any manual column configuration.
CSV requires Xero to interpret the column structure. If your CSV has a blank cell, an extra header row, or amounts formatted with currency symbols, the import can fail silently — sometimes importing partial data without warning.
For routine month-end reconciliation, OFX saves real time.
How to Convert PDF to OFX
Download your PDF bank statement from your online banking portal. Most banks have a "Download Statement" or "Export" option under account history. Save the PDF to your computer.
Upload to a bank statement to OFX converter. The converter reads your PDF, extracts every transaction row, and outputs a properly formatted OFX file. This works with over 1,000 banks — US, UK, Australian, Canadian, and beyond.
Download the OFX file once the conversion completes. The file will be named something like
statement-2025-11.ofx.
That's the conversion done. Now import it.
Import OFX into Xero
- Log into Xero and go to Accounting → Bank Accounts.
- Select the bank account you're importing into.
- Click Import a Statement (top right of the account screen).
- Click Select File, choose your
.ofxfile, and click Import. - Xero will show you a preview of the transactions before confirming. Review the date range and transaction count to make sure it matches your PDF.
- Click Complete Import.
Xero will add the transactions to the bank account and flag any that might be duplicates of existing bank feed entries. Review those flagged items — most will be genuine duplicates and can be deleted.
Convert your bank statement for Xero now — free, no signup required.
Method 2: Convert PDF to CSV and Import into Xero
CSV is a good fallback when OFX conversion isn't available for a specific bank format, or when you need to edit transaction data before importing (for example, splitting a combined entry or correcting a mislabeled payee).
Xero's CSV Format Requirements
Xero's bank statement CSV must follow this column order exactly:
| Column | Description |
|---|---|
| Date | DD/MM/YYYY or MM/DD/YYYY depending on your Xero region |
| Amount | Positive for credits, negative for debits |
| Payee | Merchant or counterparty name |
| Description | Transaction description or reference |
| Reference | Bank reference number (optional) |
| Check Number | Cheque number if applicable (optional) |
| Analysis Code | Internal coding (optional) |
Only Date and Amount are strictly required. The other columns can be blank, but they must still exist as columns in the file.
How to Convert PDF to CSV
Use a convert bank statement to CSV tool that outputs Xero-ready formatting. A good converter will:
- Format dates in your region's expected format
- Handle negative amounts for debits correctly (not just putting them in a separate column)
- Strip currency symbols from amount fields
- Remove summary rows, running balances, and header rows that would confuse Xero's importer
Import CSV into Xero
- Go to Accounting → Bank Accounts and select your account.
- Click Import a Statement.
- Select your CSV file and click Import.
- Xero will ask you to map columns if it can't auto-detect them. Match each column to the correct field.
- Preview the transactions and click Complete Import.
Step-by-Step: Import Bank Statement into Xero
Here's the full end-to-end process in one place:
Step 1: Download Your PDF from the Bank
Log into your bank's online portal. Navigate to your account history and look for a download or export option. Most banks label this "Download Statement," "Export Transactions," or similar.
Select the date range you need — typically a full month or quarter — and download as PDF. Save it somewhere you can find it easily.
Quick tip: If your bank offers a direct OFX or QIF download, use that and skip the converter entirely. Not all banks offer this, but it's worth checking. Chase, for example, offers OFX downloads from some account types.
Step 2: Convert PDF to OFX Using ConvertBankToExcel
Go to the Xero-compatible converter and upload your PDF. The tool uses OCR combined with pattern recognition trained on hundreds of bank statement formats to extract transaction data accurately.
Select OFX as your output format (or CSV if you prefer that method). The conversion typically completes in under 30 seconds for a standard monthly statement.
Download the converted file.
Accuracy note: The converter achieves 99.8% accuracy across supported bank formats. For statements with unusual formatting — like handwritten annotations or heavily compressed scans — review the output file before importing.
Step 3: Import into Xero via Banking → Import Statement
In Xero:
- Click Accounting in the top menu.
- Select Bank Accounts.
- Click on the account you're reconciling.
- Click Import a Statement (upper right).
- Upload your OFX or CSV file.
- Review the transaction preview.
- Click Complete Import.
That's it. Your transactions will appear in the account ready for reconciliation.
Xero Bank Feed vs Manual Import: Which Should You Use?
Xero offers automatic bank feeds for many financial institutions. If your bank supports a direct feed, Xero pulls transactions automatically every day — no manual importing needed.
But bank feeds have gaps:
- Not all banks support direct feeds. Smaller regional banks, credit unions, and international banks often aren't available.
- Feeds can break. Authentication tokens expire, APIs change, and feeds go down for days or weeks during bank system migrations.
- Historical data isn't included. A new Xero account won't automatically pull in the last 6 months of transactions from a bank feed. You need to import historical statements manually.
- Business credit cards and investment accounts frequently lack feed support.
Manual import via OFX or CSV fills all of these gaps. It's also useful for accountants onboarding new clients — importing 12 months of historical statements in one session rather than waiting for a feed to catch up.
The practical answer: use bank feeds where available, and use manual import for everything else. They're not mutually exclusive.
Troubleshooting Xero Import Errors
Most Xero import failures come from a handful of root causes. Here's how to fix each one.
Date Format Mismatch
Symptom: Xero shows an error like "Invalid date format" or imports transactions with wrong dates.
Cause: Your Xero organisation is set to a specific date format (e.g., DD/MM/YYYY for UK/Australia, MM/DD/YYYY for US), and the file uses a different one.
Fix: Check your Xero organisation's date format under Settings → General Settings → Dates. Make sure your CSV or OFX file uses the same format. If you're using the converter, select your region before exporting.
Duplicate Transactions
Symptom: After importing, Xero flags some transactions as duplicates of existing bank feed entries.
Cause: You're importing a date range that overlaps with your existing bank feed data.
Fix: Before importing, check the date of the last transaction in your bank feed. Set your statement download to start from the day after that date. If duplicates slip through, Xero makes them easy to identify and delete — look for the "Duplicate" badge in the account transaction list.
Encoding Issues in CSV
Symptom: Special characters in payee names appear garbled (e.g., café shows as café).
Cause: The CSV was saved with Windows-1252 encoding instead of UTF-8.
Fix: Open the CSV in a text editor, re-save with UTF-8 encoding, then re-import. Most converters output UTF-8 by default, so this usually only happens when manually editing CSV files in Excel and saving without specifying encoding.
File Rejected with No Error Message
Symptom: Xero silently rejects the file or shows a generic error.
Cause: Usually a structural problem — extra rows at the top of a CSV, a blank row in the middle, or an OFX file with malformed syntax.
Fix: Try opening the file in a text editor and checking the first few rows. For CSV, make sure row 1 is the header and row 2 is the first transaction with no blank lines in between. For OFX, run it through an OFX validator to catch syntax issues.
Amount Signs Reversed
Symptom: Payments show as positive amounts and deposits show as negative.
Cause: The file uses the opposite sign convention from what Xero expects.
Fix: In the converter settings, look for an option to flip debit/credit signs. Alternatively, in the CSV, multiply the Amount column by -1. This is a one-column formula change in Excel.
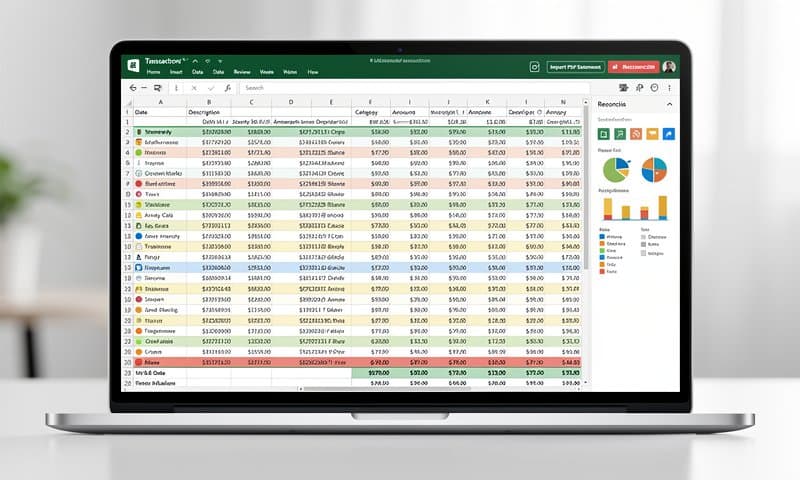
How to Export Bank Transactions from Xero to Excel
Once transactions are in Xero, you may need to export them — for audit preparation, client reporting, or reconciliation analysis in Excel.
Xero's export function is straightforward:
- Go to Accounting → Bank Accounts.
- Select the bank account.
- Set the date range using the filter options.
- Click Export (top right of the transactions list).
- Choose CSV as the format.
- Open the downloaded CSV in Excel.
The exported file includes date, description, reference, spent, and received columns. For most reporting purposes, that's sufficient. You can add formulas, pivot tables, or conditional formatting directly in Excel from there.
For more detailed transaction analysis, some accountants prefer to convert the original bank PDF directly to Excel rather than routing through Xero. This gives you the raw data without Xero's categorization applied, which is useful when you need to audit the source data independently.
Our users tell us this two-track approach — import into Xero for reconciliation, keep an Excel copy for analysis — is the most efficient setup for month-end close.
Try the free converter — 7 free pages per day, no account required.
Conclusion
Getting PDF bank statements into Xero doesn't have to mean 45 minutes of copy-paste work. The three-step process — download PDF, convert to OFX, import into Xero — gets you there in under five minutes for a standard monthly statement.
OFX is the format to use when you have a choice. It imports cleanly, maps automatically, and gives you the least post-import cleanup. CSV is a solid fallback when you need to review or edit the data first.
The most common errors — date format mismatches, duplicate transactions, encoding problems — all have straightforward fixes once you know what to look for. And if you run into a bank format that gives you trouble, the converter handles over 1,000 institutions, so it's rare to hit a format that can't be processed.
For accountants managing multiple clients, this workflow scales well. Convert each client's monthly statements in a batch, import into their respective Xero accounts, and reconciliation becomes a review task rather than a data entry task.
Start with the Xero-compatible converter to process your first statement — free, no registration needed.
Frequently Asked Questions
Can I import a PDF bank statement directly into Xero?
No. Xero does not accept PDF files for bank statement imports. You need to convert the PDF to OFX, QIF, or CSV first. The conversion process takes under a minute with the right tool.
What is the best file format to import bank statements into Xero?
OFX is the recommended format. It carries structured transaction data that Xero maps automatically without manual column configuration. CSV works too, but requires correct column ordering and careful formatting.
How do I fix a date format error when importing into Xero?
Check your Xero organisation's date format under Settings → General Settings → Dates. Make sure your import file uses the same format (DD/MM/YYYY or MM/DD/YYYY). Reformat the dates in your file if needed before re-importing.
Can I import historical bank statements into Xero?
Yes. Xero's manual import accepts statements from any date range. This is useful for onboarding new clients or importing data from before your Xero account was set up. There's no hard limit on how far back you can go.
Does Xero detect duplicate transactions from imports?
Yes. Xero compares imported transactions against existing bank feed data and flags likely duplicates. Review flagged items before accepting — most will be genuine duplicates that should be deleted.
Which banks are supported by the PDF converter?
The converter supports over 1,000 banks including Chase, Bank of America, Wells Fargo, HSBC, Barclays, ANZ, Commonwealth Bank, TD Bank, and most major regional and international institutions.
Is my bank statement data secure during conversion?
Yes. Files are processed over encrypted connections (HTTPS) and are not stored after conversion is complete. The service follows standard data handling practices for financial documents, including AES-256 encryption in transit.